
DTMF Controller
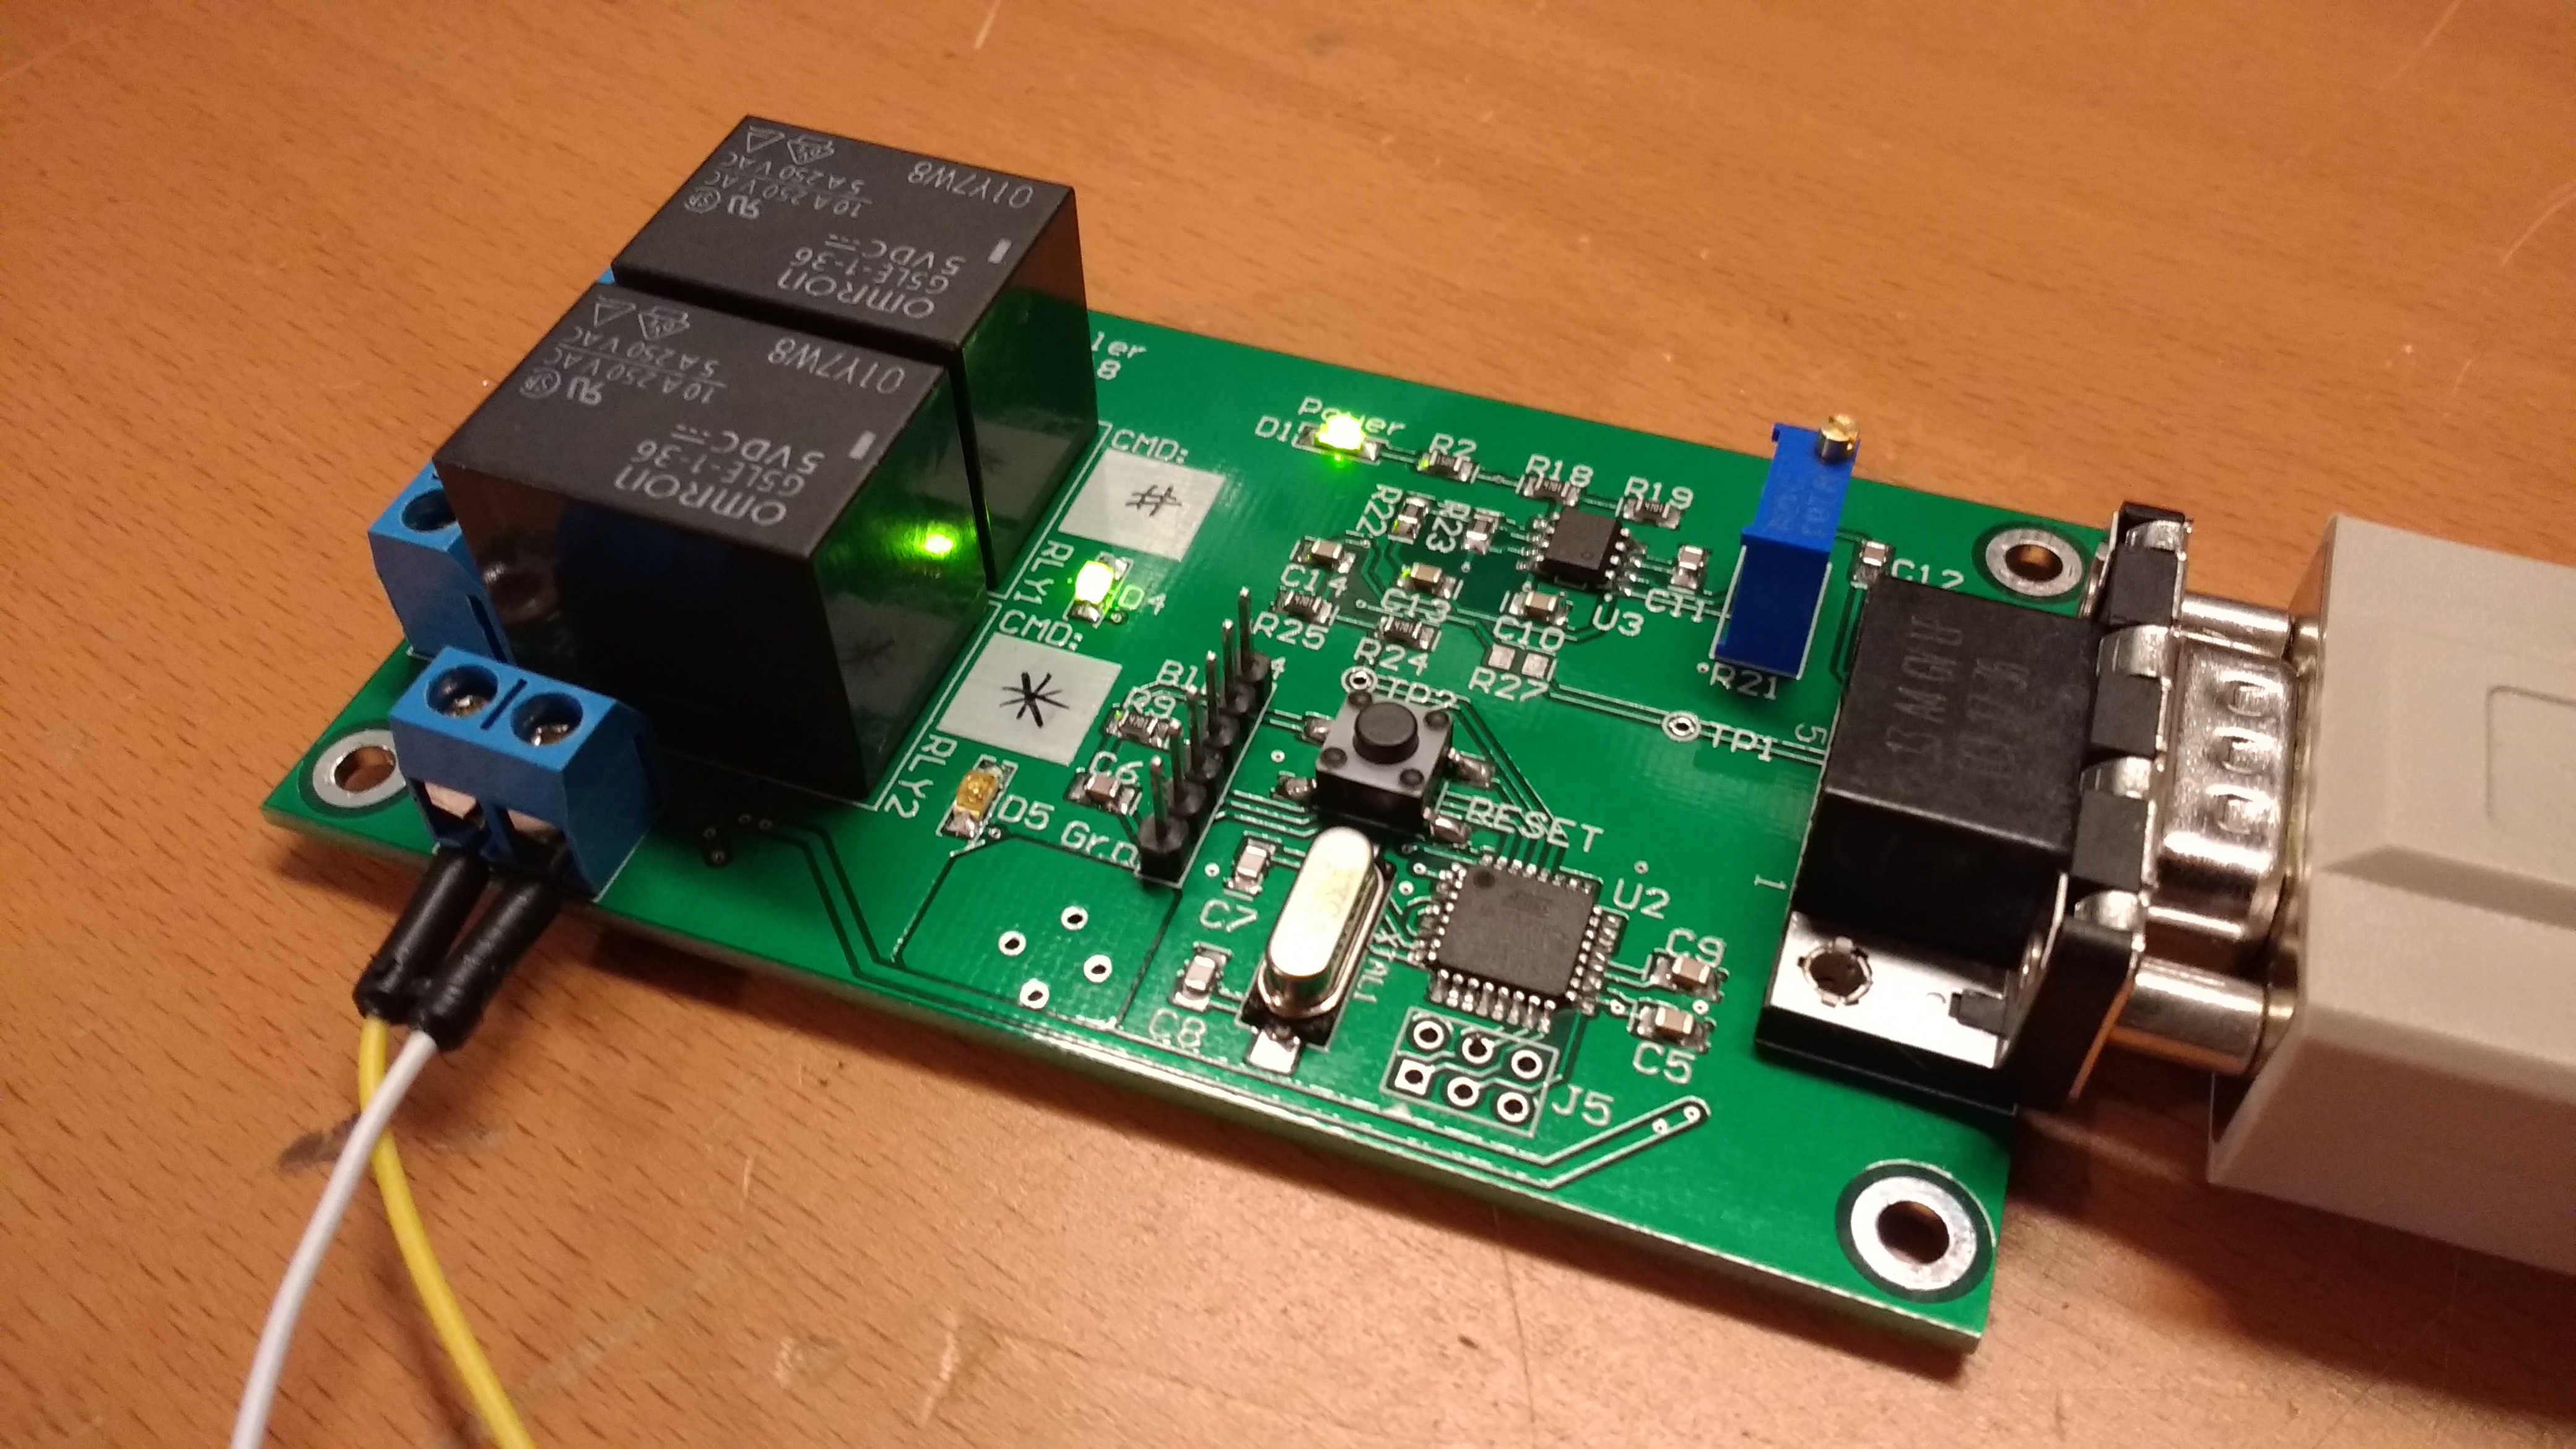
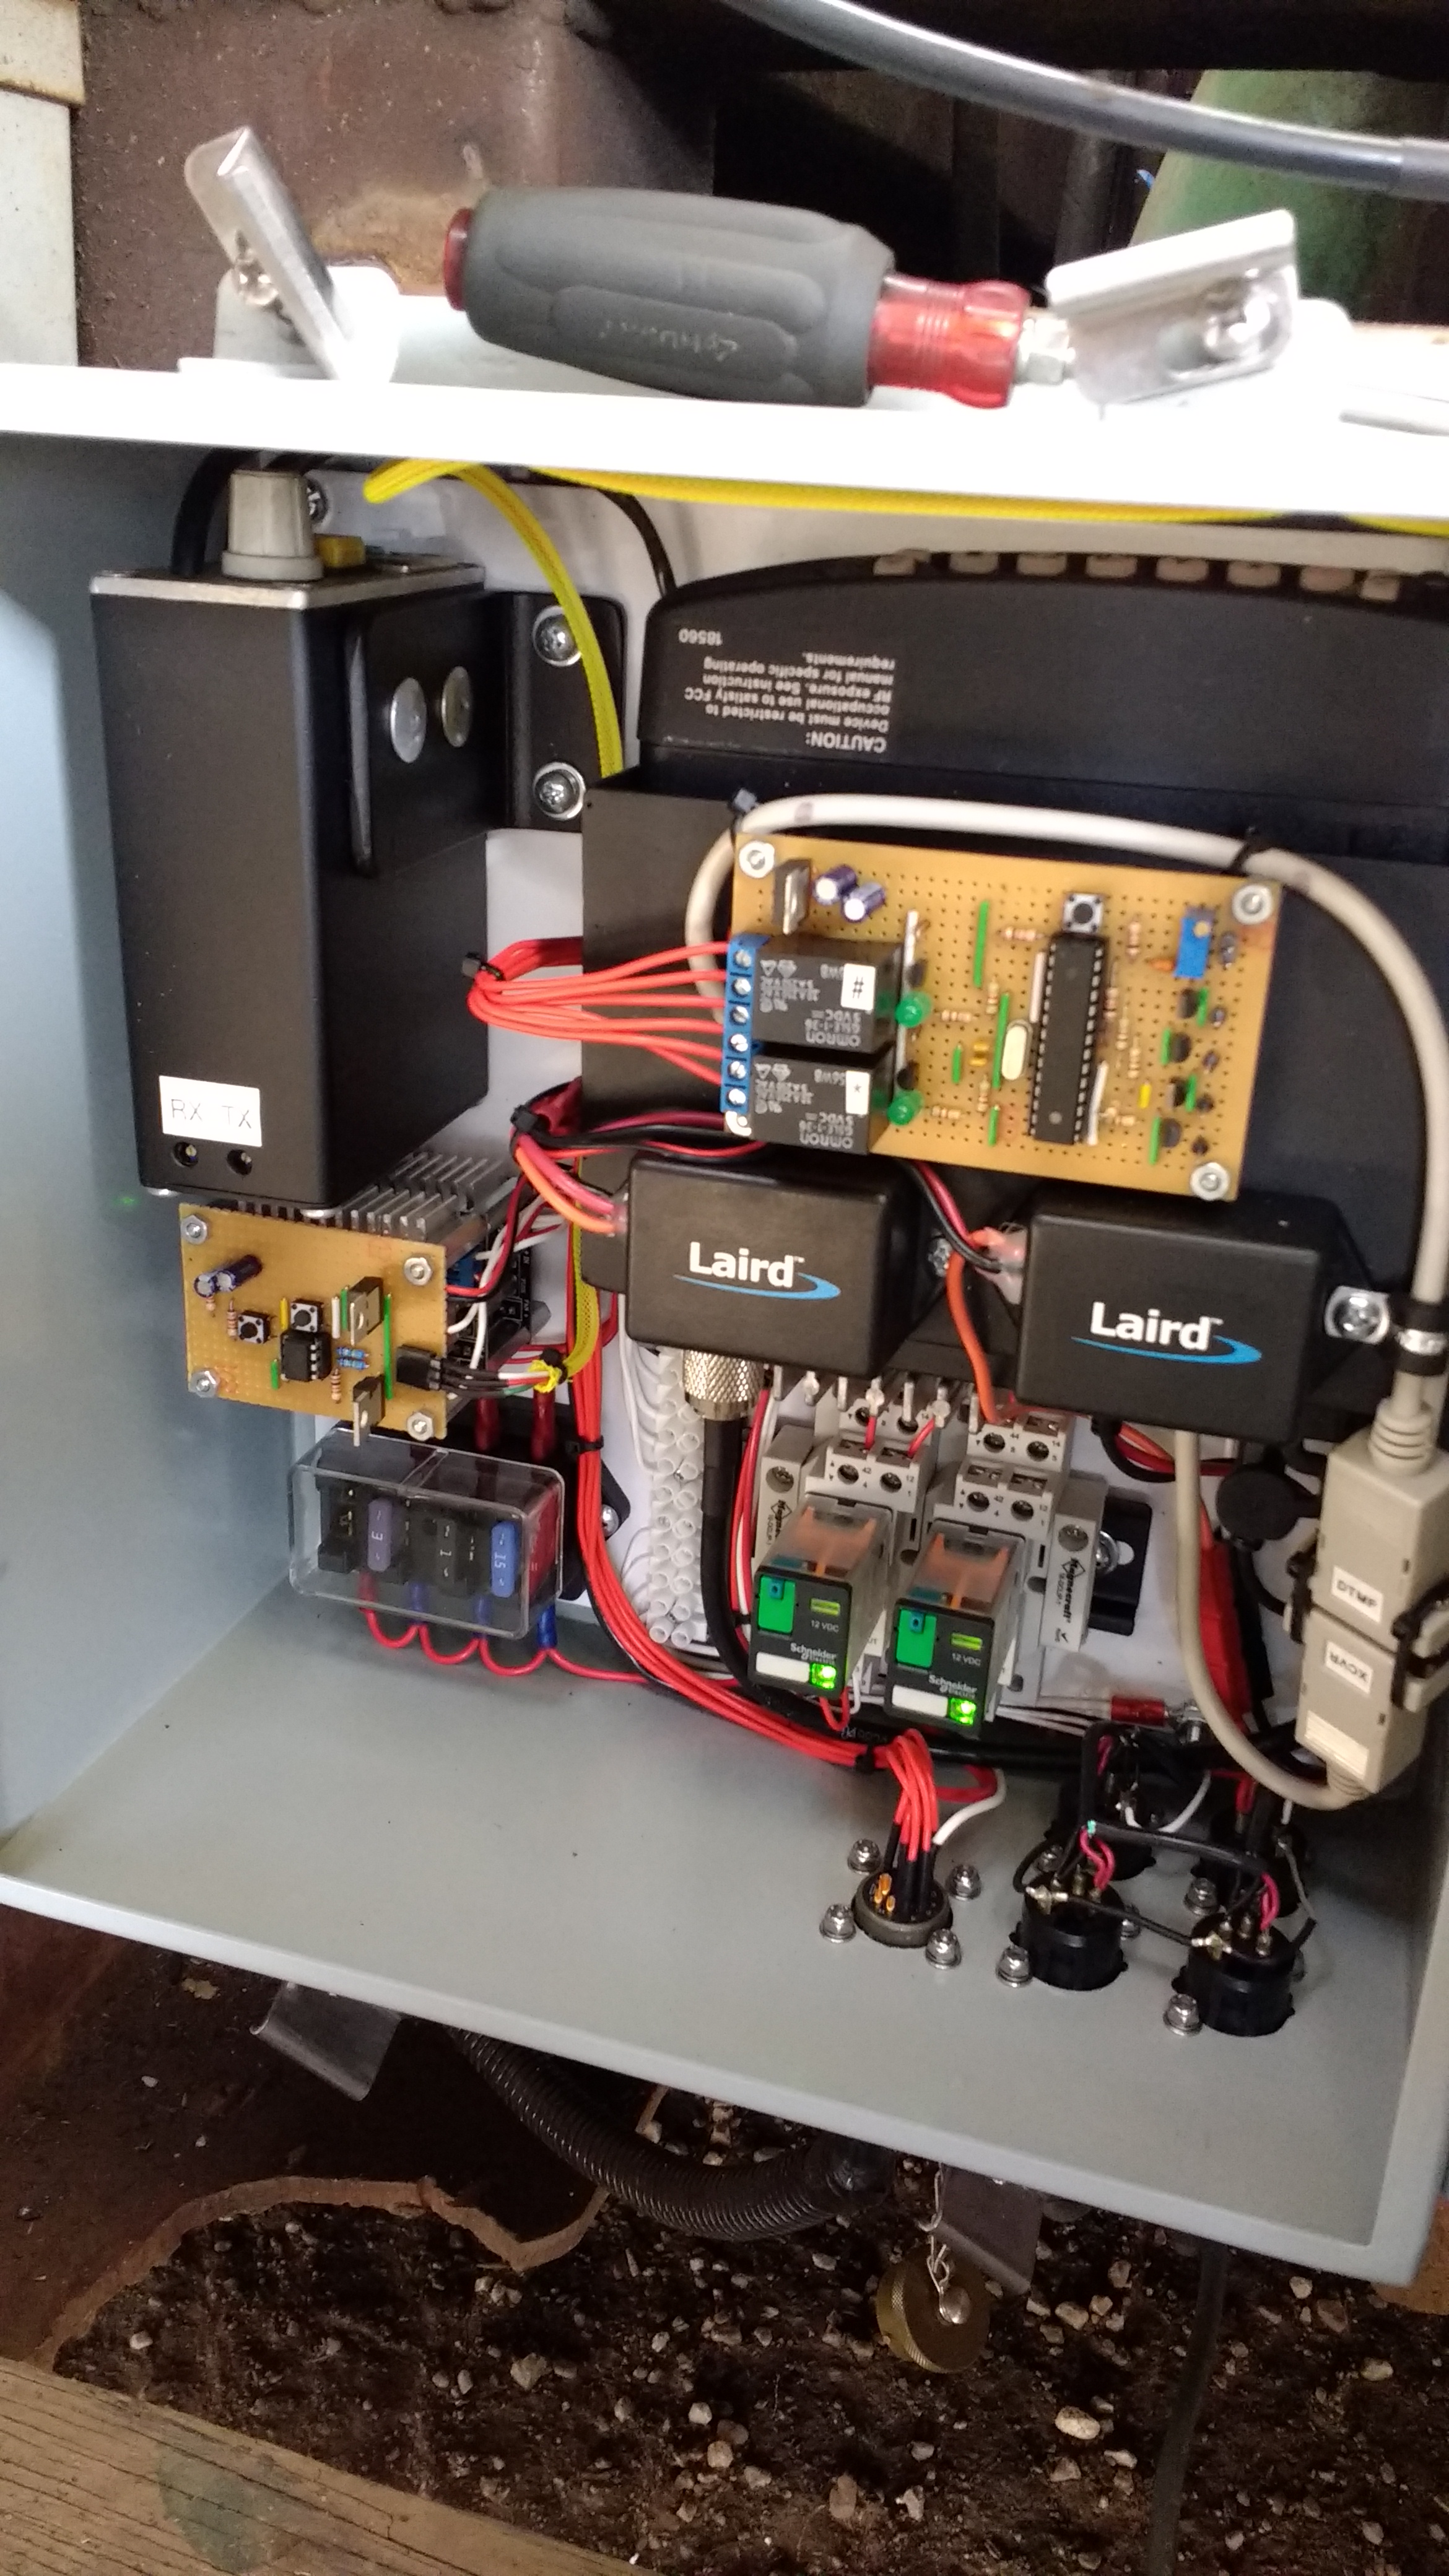
The La Cañada Flintridge Rose Parade float is equipped with a custom-built intercom and radio system to allow the float’s crew to communicate both within the float, and with external crew. Since the intercom box is mounted in the middle of the float where it’s not easily accessible, we needed some way to be able to remotely control the radio. The solution I came up with was a small perfboard assembly that used a microcontroller to decode DTMF tones received by the float’s radio to change the radio’s operating channel or toggle a set of relays.
We chose to go with DTMF control because it requires very little extra hardware in the intercom box and doesn’t require any special kind of remote (we already use handheld and mobile radios to coordinate moving the float, so we don’t need to carry any additional equipment). Several of us use commercial radios which have automated autopatch dialing capabilities (an autopatch is a now outdated piece of equipment used to place a telephone call via radio), which turned out to work extremely well for sending DTMF commands. With the automated dialing feature, it’s possible to send commands to the float’s radio with just a few button presses.
The DTMF controller itself is rather simple, consisting of an atmega328 microcontroller and a handful of generic components. The atmega328 constantly decodes incoming audio in order to detect DTMF tones. When the correct password and command are received, the Arduino will either toggle a relay or change the radio’s channel by momentarily toggling one of four lines that are connected to the TK-8180 as shortcut buttons for selecting radio memories.

The new revision of the controller now includes an audio amplifier (the Arduino needs a rather large signal to decode the DTMF properly) and a right-angle d-sub connector (J3 on the left of the PCB).